So this isn’t really a tutorial on how to set up Hyperion since there are many great resources out there already. The one I’ve been loosely following is this one.
Instead I wanna highlight the pitfalls i stepped into so you wont have to live through the struggle yourselves. I also wanna take your fears of trying this yourself by highlighting that a lot of this process can be easier than expected.
The Cost
But first some stats on how much this project cost. While I didn’t use all of these parts, I couldn’t buy some of them in smaller quantities.
- A RaspberryPi 3B+ €45.94
- A WS2812B strip with 30 LEDs per meter from BTF-Lighting €28.99
- 10 solderless LED strip connectors from BTF-Lighting €9.99
- 6 pairs of barrel jack connectors €4.99
- 120 jumper wires €6.99
- A TreasLin 4K HDMI Capture Card €30.59
- A 5V 10A power supply €26.95
For a total of €154,44. So the only product out there (that I know of) that’s cheaper than DIY is the Lytmi Sync Stick. I probably could’ve gotten away with a cheaper capture card tho, especially since this one doesn’t support CEC pass through.
The Hardware
Surprisingly enough, this was insanely easy. There is absolutely zero soldering required and the hardest part is just attaching everything to the back of your TV.
If you didn’t know (like I did before doing this), most (individually controllable) LED strips come with a connector for power, data, and ground, as well as two loose wires just for power and ground each. These two loose wires can just be inserted into your barrel jack adapter, so no soldering here.
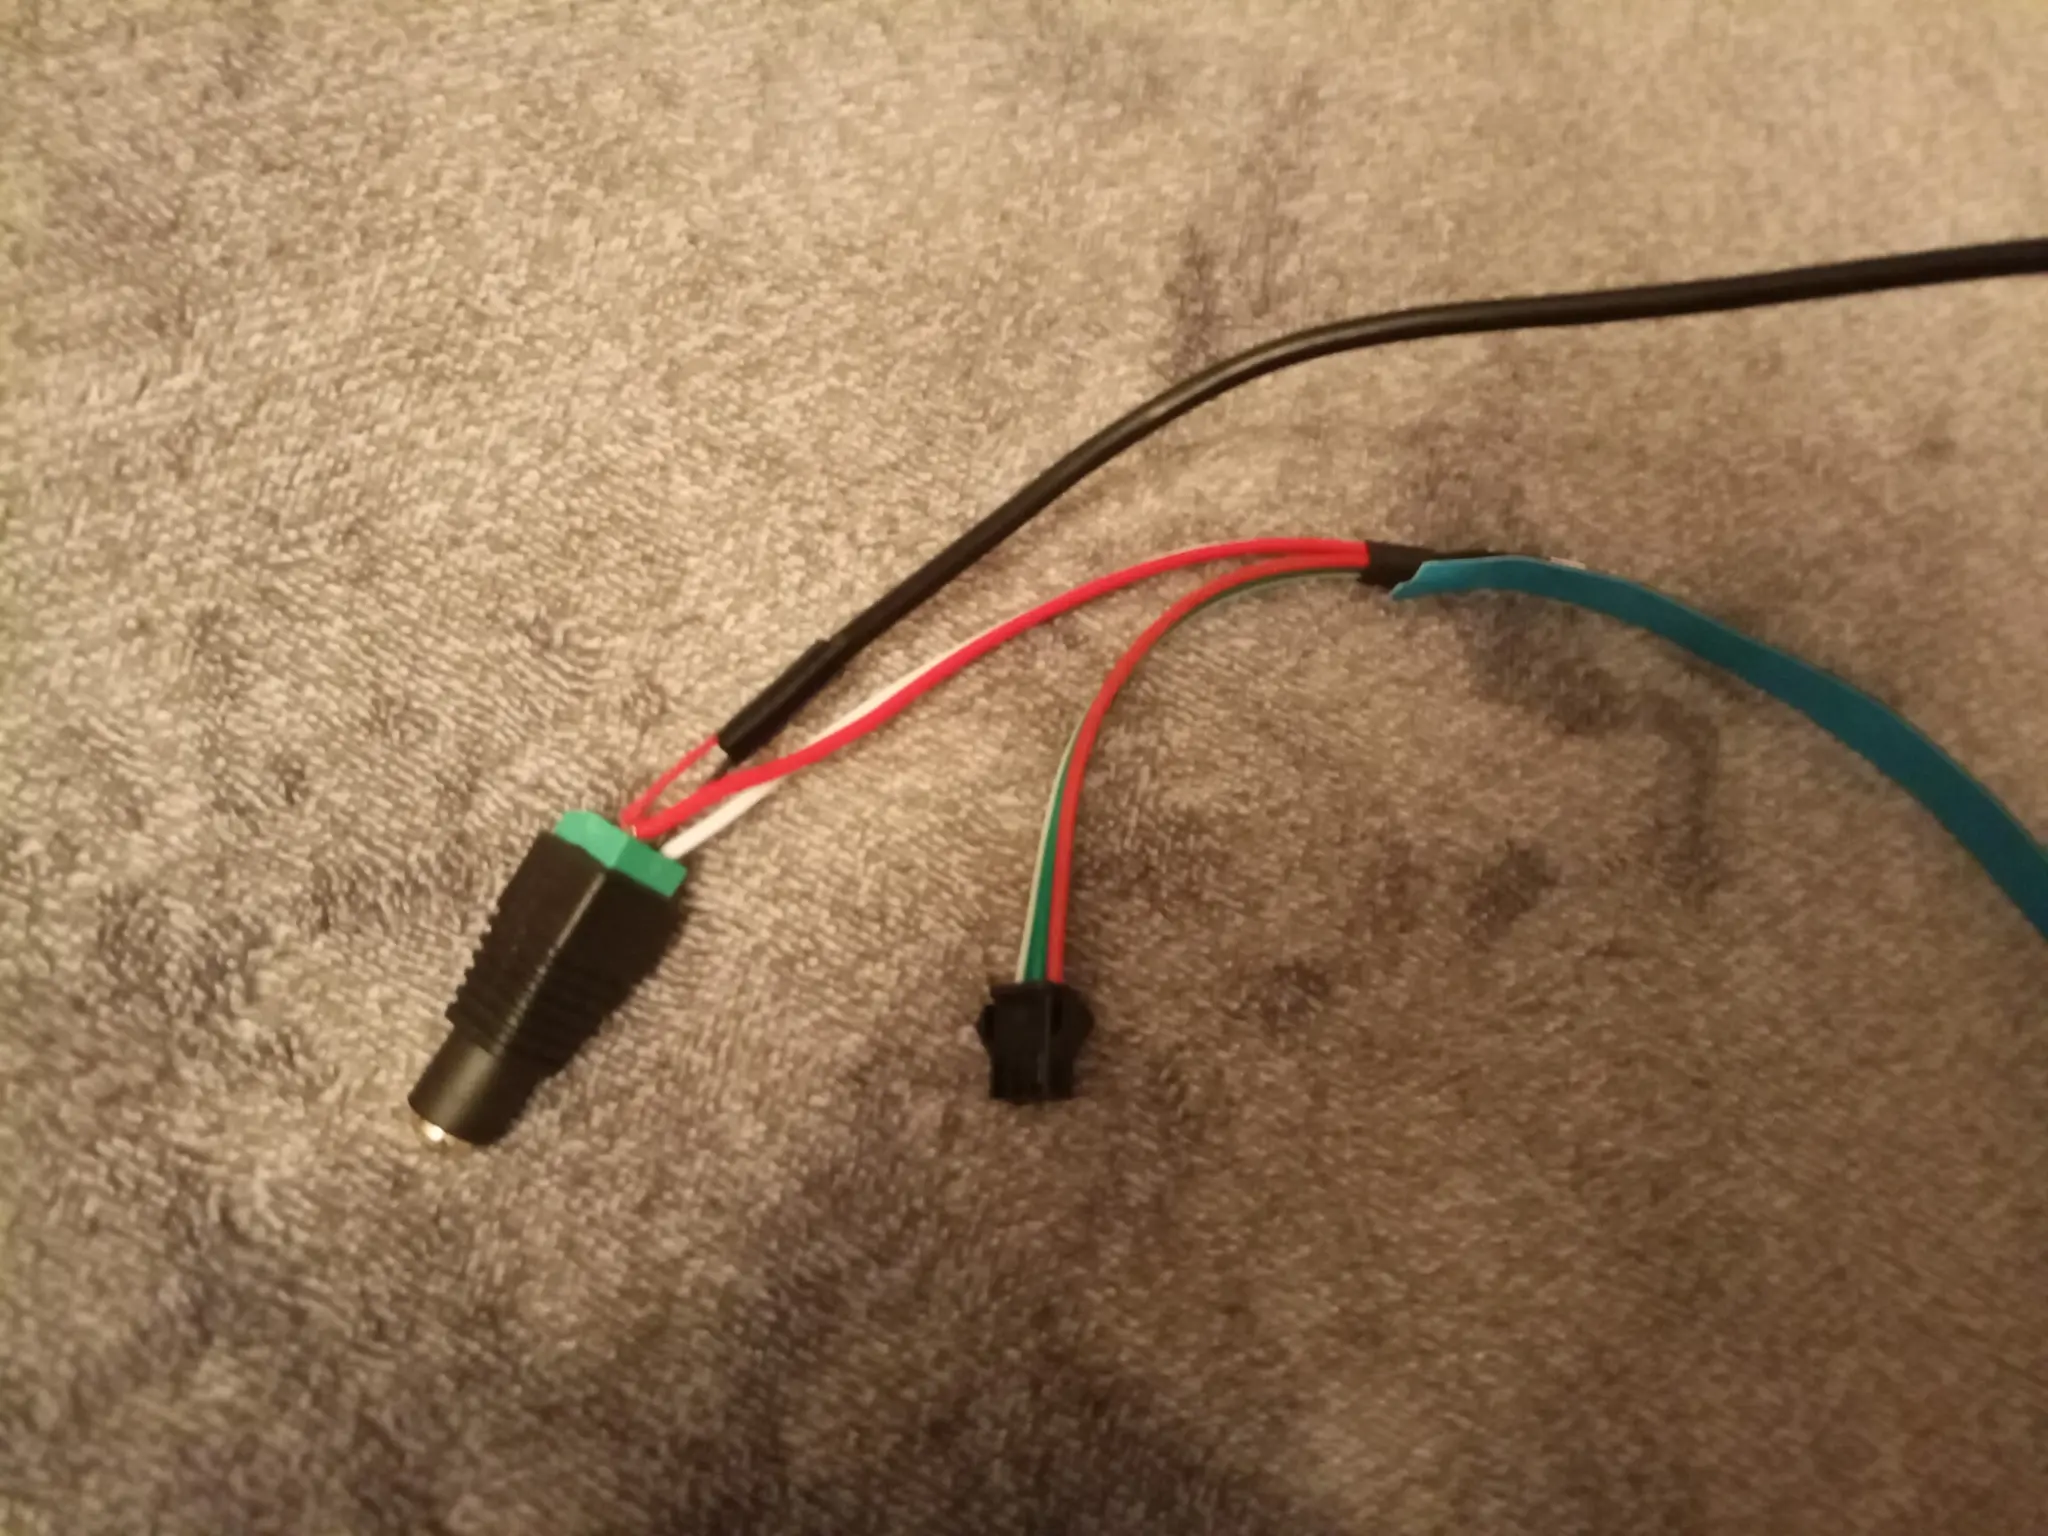
Now, longer LED strips usually need power injection after a few meters so the LEDs don’t turn yellow further down the strip. But since I only used 100 LEDs in total, power injection wasn’t necessary. Again, soldering avoided. Using more than 30 LEDs/m really isn’t necessary in my opinion, so unless you have an insanely huge TV you probably shouldn’t need to inject power either. You should still check tho. Just in case.
Attaching all of this to the back of your TV can be pretty tough tho. Especially If you find out half way through that your tape doesn’t really stick to the back of your TV for whatever reason. I also didn’t want to stick the tape directly to my Pi, so I put it in a plastic case I had lying around. Unfortunately the tape also didn’t stick to that case. Even less so than to the TV. So my advice here is to check that your sticky tape actually sticks to the other materials before you take your TV off the wall and spend hours coming up with nice cable management.
On the flip-side, the strips themselves stick to basically anything you put them on. And since you can adjust your LED direction, starting point, etc. inside of Hyperion, you don’t need to worry about where to start gluing down your strip.
The Software
Installing Hyperion is pretty straightforward on the Pi. You can easily install the stable as well as the nightly build from here.
If you’re using a WS281x strip as well, you may get an error from Hyperion telling you Hardware revision is not supported. If that happens to you, you can use the pinout command on your Pi and check the revision number. In my case this was a020d4. Hyperion uses the rpi_ws281x library for WS281x strips, so if your revision number is somewhere in this file you can just install the nightly build of Hyperion from the download link earlier. The nightly build should contain the up to date version of that library. If your revision is not in that file tho, then you will probably have to ask the maintainers (create an issue) about adding support for your revision 🤷
Also, for Hyperion to send data over the GPIO-pins, it needs to run as root. If you’re also following the tutorial on the raspberrypi website, they will tell you to start the service hyperhdr@pi. This is false in both the current version (at the time of writing this) of Hyperion as well as the HyperHdr fork they are using in that tutorial. Upon installing it, Hyperion will automatically start that service as your current user. You will need to disable it and re-enable it for the root user.
Now you should be almost done. I assume you already got the red and green Byte order correctly following some tutorial. But you will most likely find that the colors of your strip aren’t accurate. Since my strip doesn’t have a dedicated white LED, it just cranks the RGB ones up at max. Unfortunately this produces blue light instead of white. To fix this we will have to calibrate the LEDs in the menu under LED Instances > Image Processing. You may want to open this and `Remote Control* in two separate tabs.
Some people online will tell you to adjust only the gamma red, gamma green, and gamma blue values for this. In my opinion this is too complicated for this use case. These values do have their use, and we will change them soon enough, but for now we only need the color settings further up.
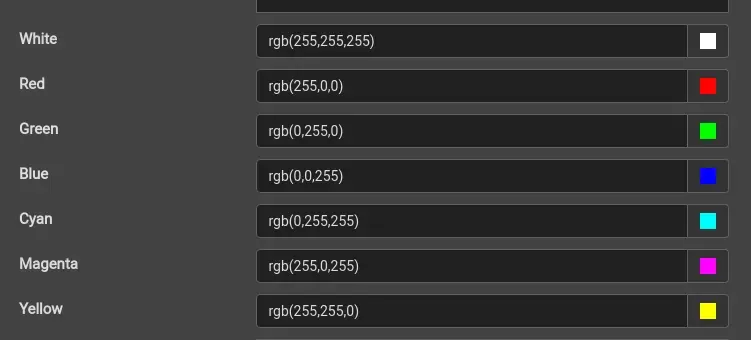
You can use this input in the Remote Control tab to set your backlight to a specific color.
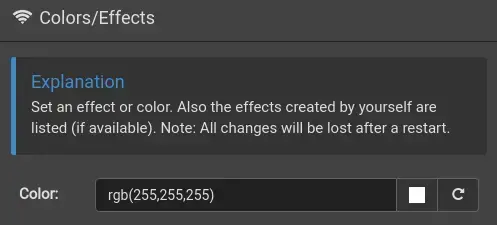
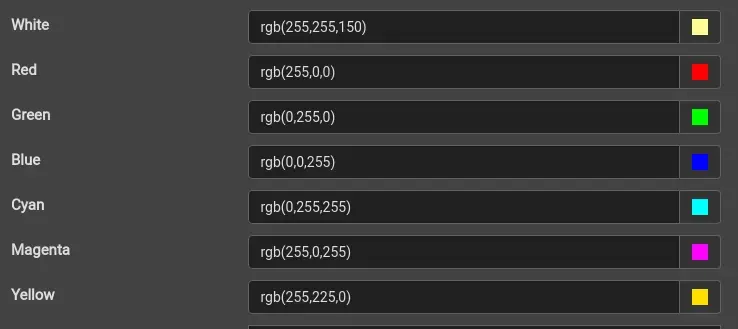
You can then change the values in Image Processing until your LEDs actually put out the color they are supposed to. Here are the values I had to use to achieve to correct colors:
Now that that’s done you should go watch some movies/videos to test your new backlight out a bit. You will probably have a lot of flickering going on when the screen is dark. This is because of those gamma settings I told you not to touch earlier. These gamma settings control how each color LED scales with it’s supposed brightness.
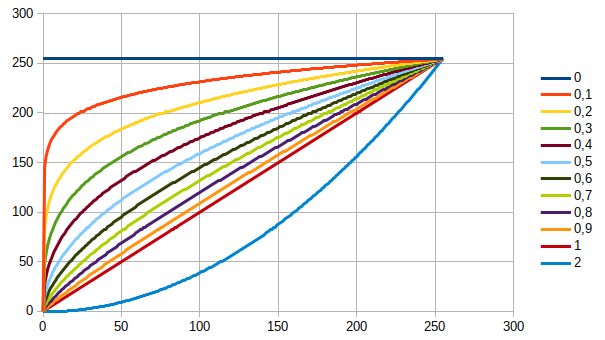
https://docs.hyperion-project.org/en/user/advanced/Advanced.html#gamma-curve
The three gamma values should all be the same. If they aren’t, lets say your gamma red is lower than the other two. Then a dark grey would trigger only the red LED, since it scales more for lower values. A pure white would however still look the same, no matter what gamma values you enter. That’s why I don’t like using these to calibrate my strip. Setting all three to the same, higher value, will however prevent your LEDs from flickering like crazy during dark scenes (at least if the flickering was due to some dark, but not pure black objects passing by the edge of your screen).
Dang, this post turned out WAY longer than I thought it would… Writing this took so long, I even forgot the closing thoughts I initially wanted to write down here 😵💫
Also, check out the official Hyperion forum. There do be some advice to be had over there.

