• 2 Posts
  • 19 Comments
Joined 1 year ago
cake
Cake day: August 8th, 2023

help-circle

  • So I sliced and printed a different model, and then rotated 1 by 180°, it is somewhat weird as the lowest part on the right model seems ok but as the wall built up on the inside it was getting the artifacts. The model on the left was getting the artifacts on the outer piece but not the inner.

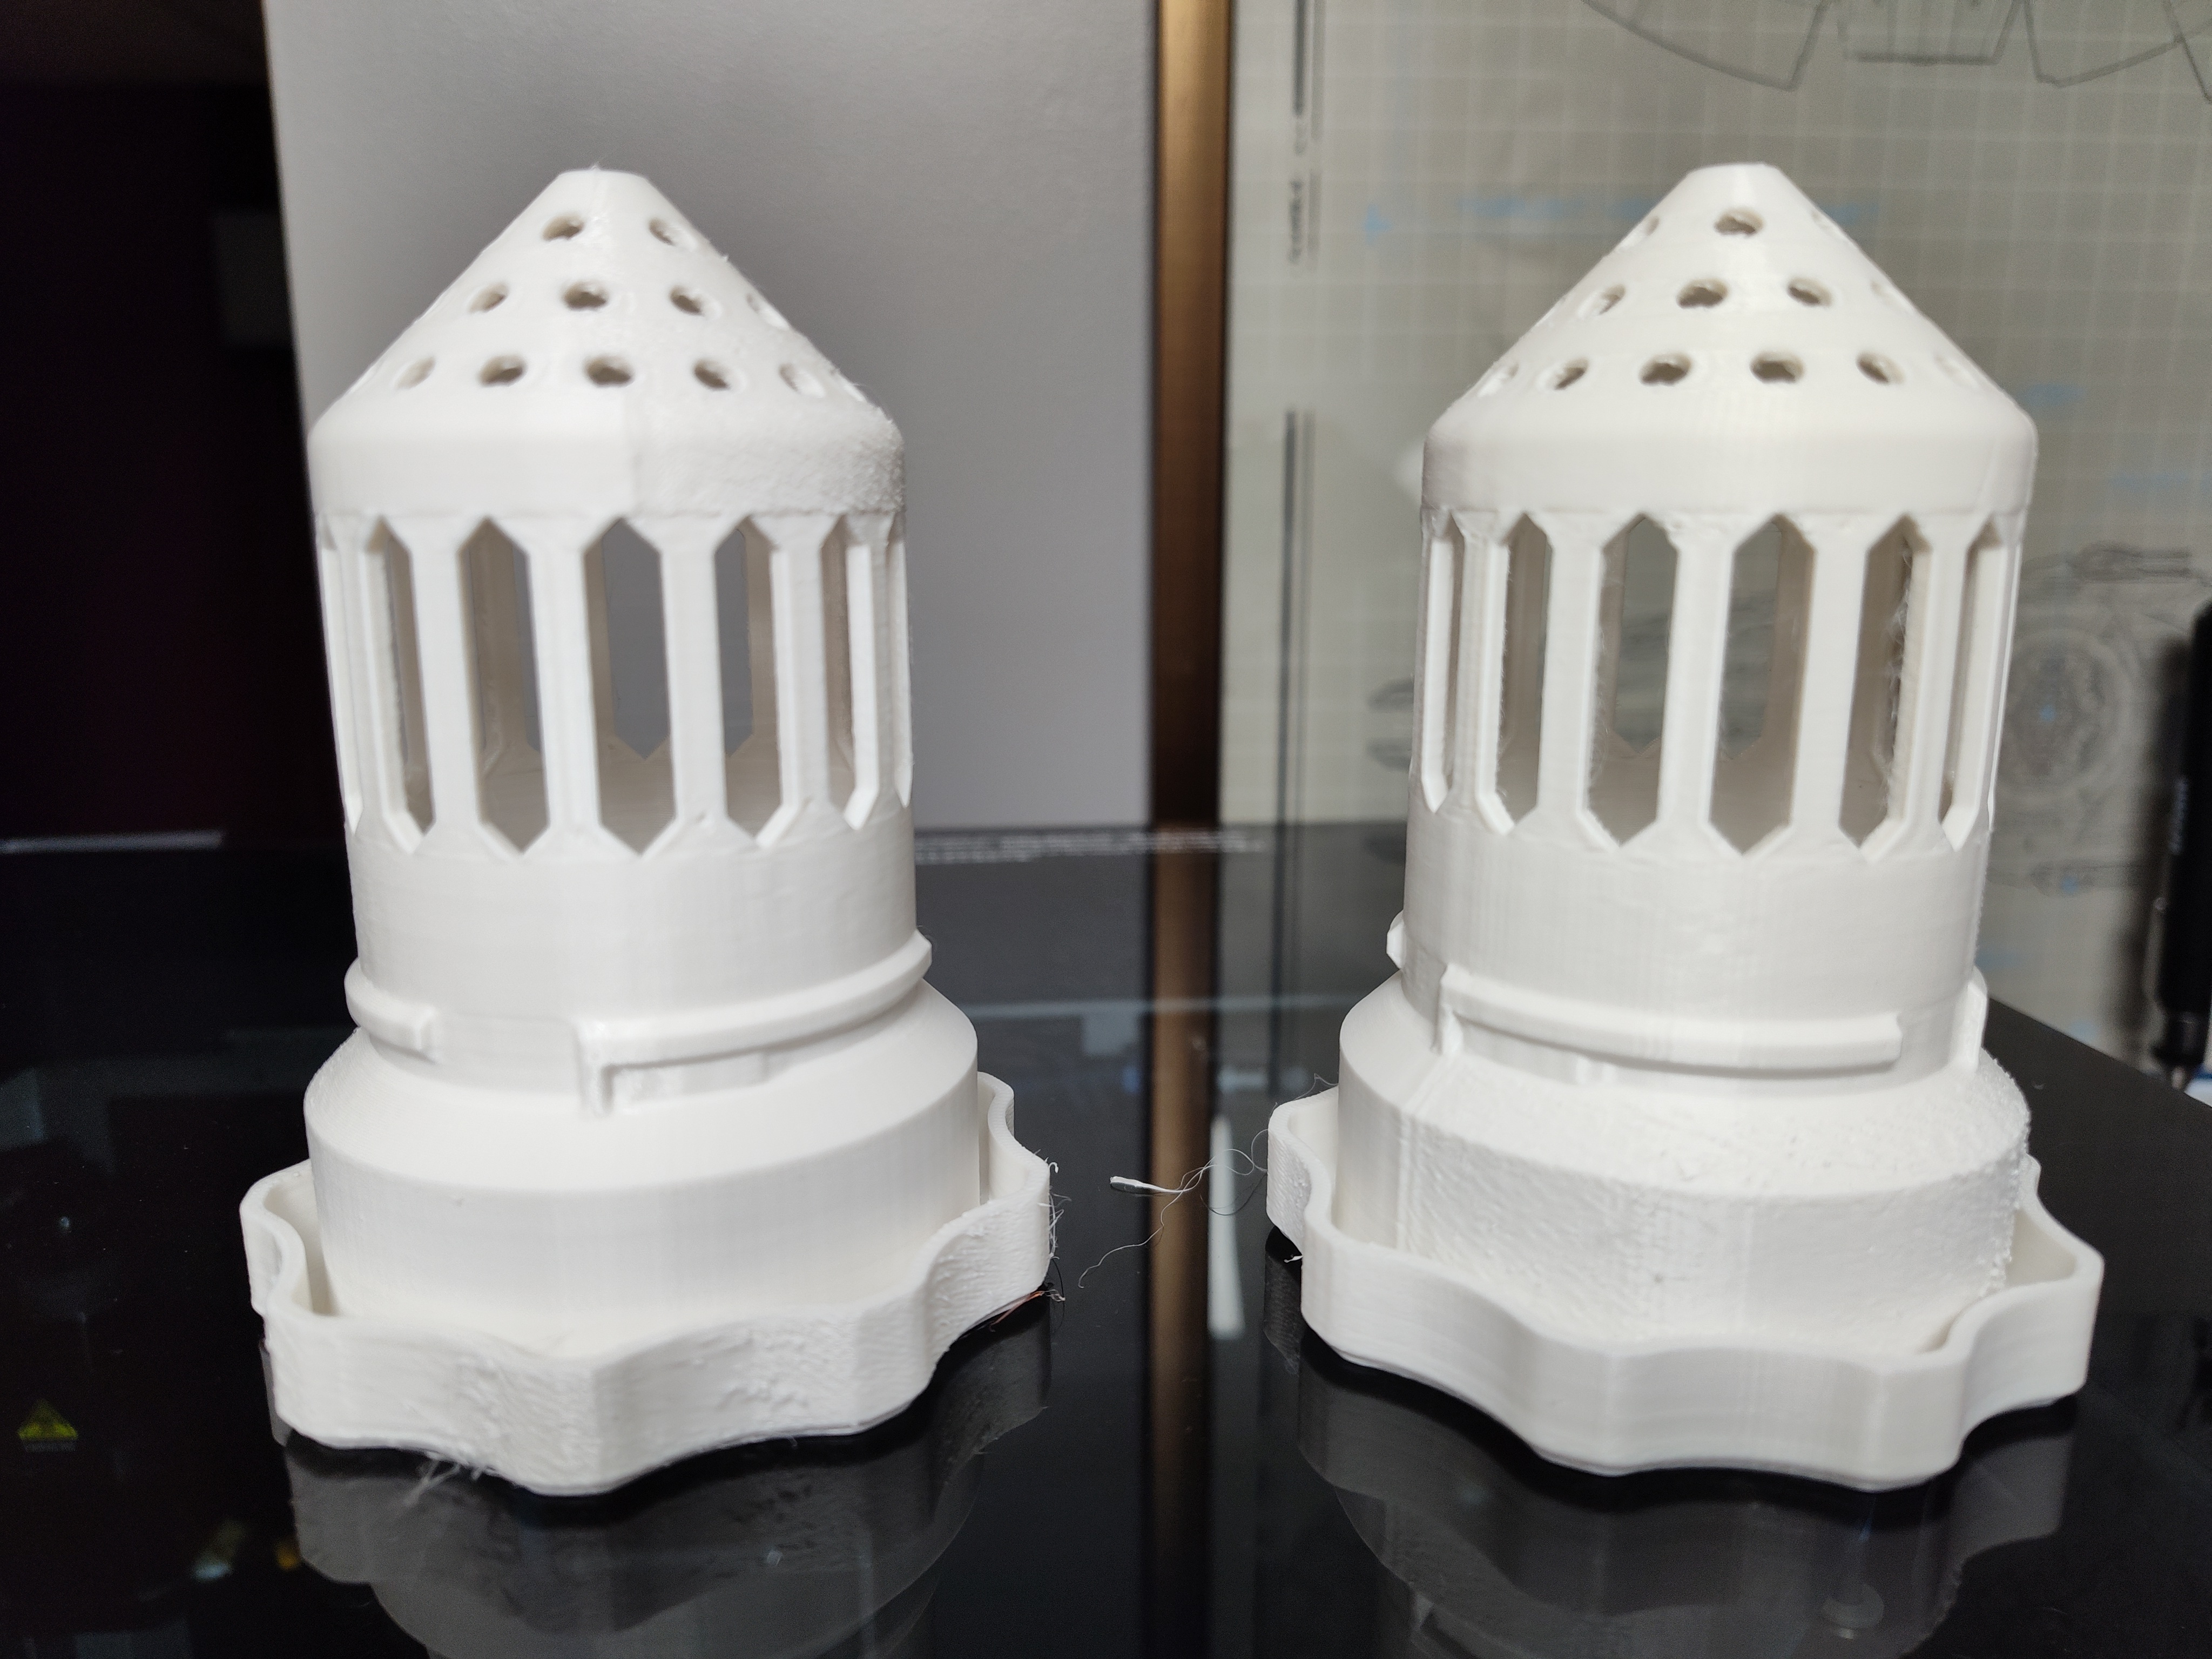
    In rotating the models after, the artifacts are on the opposite side.

    I noticed it was starting at the seam, I have the scarf joint on contour, and noticed that “scarf around entire wall” was checked so trying reprinting to see if that is the issue.


  • Good point, I have mainly been printing these items for the hydroponic tower. I do have other versions that I can check. I think after this set prints I will add some basic shapes in different orientations to see if there is issues still.

    That being said I did print some other items that were stacked and each one is much thinner but there are no artifacts on the outer walls.


  • My first suggestion if you have a Raspberry Pi Zero 2w or better is to install Klipper. If that isn’t a route to go down for you then Myers firmware was really good (not sure if it’s still around since I went to Klipper).

    I’ve printed so many miss for mine, spool holder moves to the side, filament guides, different spool holders with bearings, new hot end fan assemblies ,small tool holder that slides into the v slots. Covers for the V slots.

    It’s a great machine to learn and tinker on, some people don’t like that but I really enjoyed it.

    I’ve since switched to direct drive instead of the Bowden tube and added another Z rod and stepper. I have a microswiss all metal hotend which has been fantastic and I have put Noctua fans for the heat break. Also upgrade the Bowden tube to the Capricorn type, it is much better.

    A magnetic build plate from Biqu was another good addition.

    Almost forgot, I printed risers for the feet out if TPU and that seems to help, I probably would have tried the ones that the squash balls go into but these work fine. In order to print TPU with the Bowden tube you need to print slow.

    Also keep an eye on the plastic handle on the filament extruder, they are known to be weak and crack, a good aluminum dual gear is a good low cost investment.

    Search on Thingiverse and Printables for mods for the Ender 3 and you will be overwhelmed with your options.

    Patience is a virtue, and remember there are no stupid questions and a huge community of people willing to help.

    If there is anything else I can do to help, don’t hesitate to ask.


  • Update:

    I took everyone’s advice and tried all the suggestions. In the end I completely disassembled the printer and made sure everything was square or perpendicular where it needed to be. I think maybe the dual z screws were binding, although when I took everything apart I noticed that I did not use the Y cable for both z steppers, I ran the original short cable to one motor and

    the Y to another, not sure if that had any effect or not, but now the Y cable is running both z steppers.

    It does seem to be better, but I still have the dip in the bed, which is still a bit of an issue for the BL Touch, but not nearly as bad as before. I may have slightly bowed it when trying to crank down the levelling wheels.

    I think that the z screws were binding just enough that it couldn’t keep up with the micro adjustments, I guess time will tell.

    Thanks for everyone’s input and advice, hopefully it’ll run for a couple more years. If not then a replacement Bamboo might be in order.

    Now I just need my resin printers to stop failing prints, but I think that’s more me than the printers. lol

    Thanks everyone.


  • I did a probe accuracy test yesterday, 0.002. So I think it’s good.

    I have the entire printer torn right back to square one. Will double check everything as I reassemble.

    Did a couple prints yesterday with no BL touch, bed level the four corners, seemed good a bit of first layer micro adjustments.

    Went to perform another print (same as the previous print) and the bed was out of whack again. The bed level test said that the right side was out half a turn on the knobs.

    I’m starting to think it has to do with the dual z motors and not staying timed or level with each other.

    Will see how it works once I get it all back together.

    Thanks.


  • I have it clear the mesh, take a new mesh as default, and load default mesh in my start profile.

    I though it might be the same, but it does make micro movements along the board to adjust for the mesh reading.

    Double checked the operation of the BL Touch, it’s working and no issue (mechanically at least).

    I did a complete relevel of the bed and still had an issue in the middle of the bed. Commented out the bed mesh in my config and had a better result in the middle of the bed.

    Running with no BK Touch for now.

    Thanks.